My Needle Keeps Hitting the Foot and Breaking – Here's What I Learned (And How to Fix It)
My Needle Keeps Hitting the Foot and Breaking – Here's What I Learned (And How to Fix It)
A Reddit user recently shared a frustrating experience: “My needle keeps hitting the foot and breaking. ... I have now broken three needles in a row because I can‘t get the needle positioned over the hole in the foot.” They were using a Brother XM2701, replaced the needle multiple times, and even tried the needle position dial—but nothing worked.
If this sounds familiar, you‘re not alone. A needle that keeps hitting the presser foot is one of the most common and frustrating problems for beginner sewists. But here’s the good news: in most cases, it‘s a simple fix, not a machine failure.
This guide walks you through exactly what causes this problem, how to fix it step by step, and when it might be time to consider an upgrade to a machine that won’t keep breaking your needles—and your spirit.
1. Why Does the Needle Keep Hitting the Presser Foot?
The Reddit user‘s problem is classic: the needle strikes the metal of the presser foot instead of passing cleanly through the hole. There are several common causes, and they’re almost always user-error rather than a broken machine.
Most common causes:
-
Wrong presser foot for the stitch type – Using the wrong presser foot can cause the needle to hit the foot and bend or break.
-
Presser foot installed incorrectly – If the presser foot isn’t attached with the correct orientation, the needle may strike it.
-
Needle installed incorrectly – A needle that‘s not fully pushed up or facing the wrong direction will hit the foot.
-
Needle position dial not set correctly – Some machines have a needle position dial that adjusts left/right. If it’s not centered, the needle can hit the foot.
-
Stitch width too wide – If you‘re using a wide zigzag stitch with a straight-stitch foot, the needle will hit the foot.
The good news: None of these are catastrophic. They’re all fixable with a few simple checks.
2. Step 1: Check Your Presser Foot
The presser foot is the most common culprit. Here‘s what to check:
Is it the right foot for your stitch?
-
If you’re using a zigzag stitch, you need a zigzag foot (like foot “J” on Brother machines). Using a straight-stitch foot for zigzag will cause the needle to hit the foot.
-
If you‘re using a straight stitch, make sure you’re not using a wide foot that allows the needle to shift sideways.
Is it installed correctly?
-
The presser foot must be securely fastened to the presser foot bar.
-
The bar on the presser foot must be aligned with the slot on the shank.
-
If the presser foot was loose in the box or came off, reattach it carefully.
Is it damaged?
-
Check for scratches, burrs, or damage around the presser foot hole. If the foot is damaged, it can cause the needle to deflect and break. Replace it if necessary.
3. Step 2: Check Your Needle Installation
A needle that‘s not installed correctly is a guaranteed way to break needles.
The correct installation:
-
The flat side of the needle must face the back of the machine.
-
The needle must be pushed up into the needle clamp as far as it will go.
-
The needle set screw must be tightened securely.
The test: After installing a new needle, turn the handwheel toward you (counterclockwise) slowly and check that the needle does not touch the presser foot before you start sewing. If it hits, stop and fix the alignment before you break another needle.
4. Step 3: Check Your Needle Position Setting
The Reddit user mentioned: “I used the dial for needle position and it doesn‘t move.” This is a critical clue.
What the needle position dial does:
-
On many machines, the needle position dial moves the needle left or right. This is useful for edge stitching and zipper insertion.
-
If the dial is set to the left or right, the needle may not align with the hole in the presser foot.
What to do:
-
Set the needle position dial to the center position.
-
Turn the handwheel slowly and watch where the needle drops. It should fall cleanly through the center of the presser foot hole.
If the dial doesn‘t move: The Reddit user’s dial wasn‘t responding. This could be a mechanical issue inside the machine—a stuck lever or a disconnected rod. At that point, professional repair may be needed.
5. Step 4: Check Your Stitch Width and Type
If you’re using a wide zigzag stitch with a narrow presser foot, the needle will hit the foot.
What to check:
-
Are you using the correct stitch for your presser foot? Zigzag stitches require a zigzag foot.
-
Is your stitch width set appropriately? If the width is too wide for the foot, the needle will strike the metal.
-
Before sewing, always turn the handwheel by hand to check that the needle clears the presser foot.
The rule: If you change your stitch, always test with the handwheel first. It takes two seconds and saves you from breaking a needle—and possibly damaging your machine.
6. When Is It Time to Call a Professional?
The Reddit user asked: “Any ideas or do I need to take it to be repaired?” Here‘s when professional help is the right call:
DIY fixes (try these first):
-
Reinstall the presser foot correctly
-
Reinstall the needle correctly
-
Reset the needle position to center
-
Switch to the correct presser foot for your stitch
-
Turn the handwheel to test alignment
Call a professional if:
-
The needle position dial is stuck or doesn‘t move
-
The needle bar is bent or misaligned
-
The presser foot holder is damaged
-
You’ve tried all the above and the problem persists
-
You hear grinding or unusual noises when turning the handwheel
Cost estimate: A basic repair or adjustment typically runs $50–$125. For a machine that keeps breaking needles, it‘s money well spent—especially if it saves you from buying more needles and wasting hours of frustration.
7. Why Do Beginner Machines Seem to Have So Many Problems?
The Reddit user’s Brother XM2701 is a popular beginner machine—but it‘s also a machine with limitations. Many entry-level machines have plastic internal components, less precise alignment mechanisms, and simpler presser foot systems. They work fine for occasional use, but they’re more prone to issues like misalignment and needle breakage.
Common limitations of beginner machines:
-
Plastic gears that can wear or shift
-
Less robust presser foot mechanisms
-
Needle position dials that can stick or fail
-
Smaller motors that struggle with thicker fabrics
The reality: If you‘re sewing regularly—especially with heavier fabrics—a beginner machine may keep you in the repair shop more than you’d like.
8. What to Look for in a Machine That Won‘t Keep Breaking Needles
If you’re tired of broken needles and constant adjustments, it might be time to consider a machine built for reliability.
Features that prevent needle breakage:
-
All-metal construction: No plastic parts to wear or shift out of alignment
-
Precise needle positioning: Consistent, accurate needle drop every time
-
Robust presser foot system: Securely holds the foot in place
-
Standard needle system: Easy to find replacement needles that fit perfectly
-
Better motor control: Smooth, consistent power that doesn‘t jerk the needle
9. DOIT Group: Industrial Machines That Won’t Let You Down
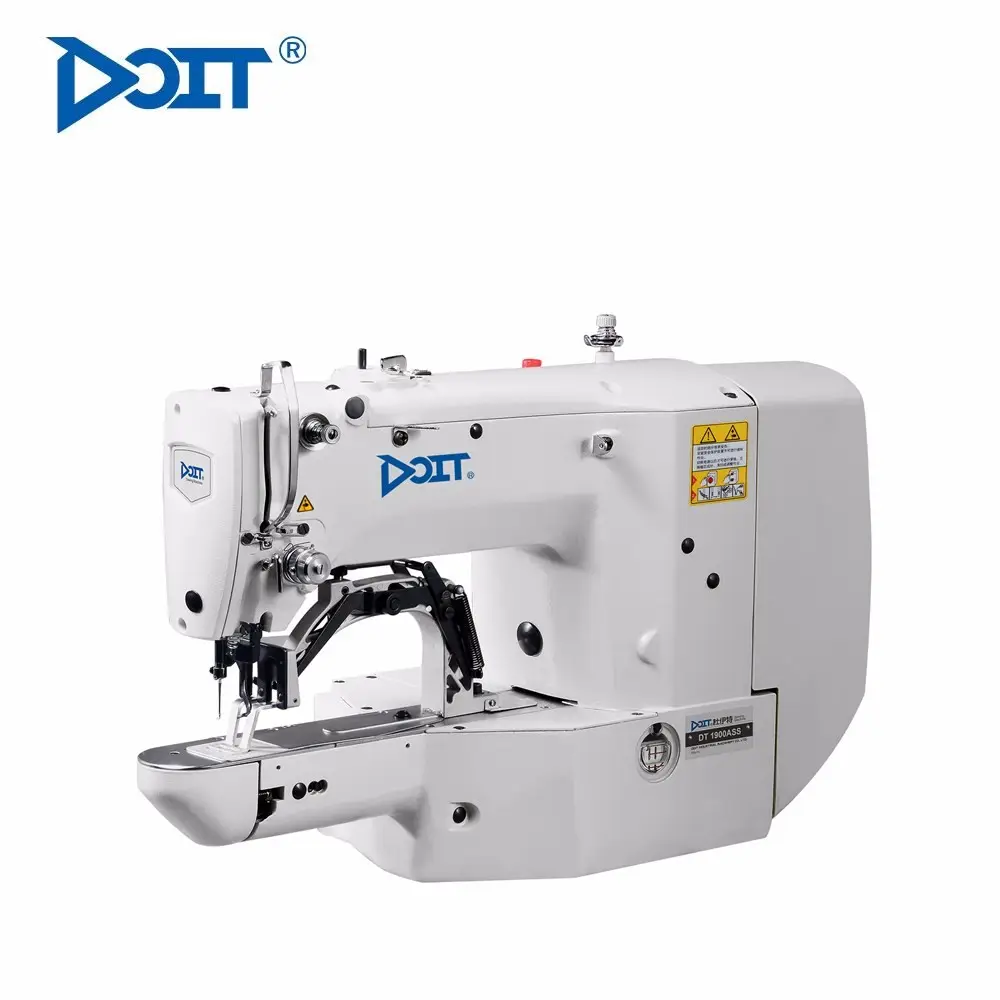
DOIT Group manufactures industrial sewing machines built for the demands of serious sewists and garment factories. Unlike beginner machines that can develop alignment issues, DOIT machines are engineered for precision and durability.
Why DOIT machines prevent needle breakage:
-
All-metal cast-iron construction: No plastic parts to warp or shift
-
Precision-machined components: Consistent needle-to-presser-foot alignment
-
Standard 135×17 needle system: Easy to find high-quality replacement needles
-
Direct-drive servo motors: Smooth, consistent power delivery
-
2-year warranty: Confidence in quality and reliability
Recommended DOIT models:
-
DT-3 High-Speed Lockstitch: 4,000 SPM, handles up to 13mm thickness—perfect for general garment construction
-
DT 8800-D4 Direct Drive Lockstitch: Auto-trimmer, 15mm presser foot lift, and energy-saving servo motor
-
DT 700-5 Overlock: Industrial walking foot for professional edge finishing on heavy fabrics
The DOIT difference: When your machine is built to industrial standards, you spend your time sewing—not troubleshooting, not replacing broken needles, and not searching for repair shops.
10. The Bottom Line: Don‘t Let Broken Needles Ruin Your Sewing
The Reddit user’s frustration is a reminder that sewing should be enjoyable—not a battle with your equipment. Broken needles are almost always fixable, but if you find yourself breaking them repeatedly, something is wrong.
Key takeaways:
-
Check your presser foot first — wrong foot or incorrect installation is the #1 cause
-
Check your needle installation — flat side back, pushed all the way up
-
Check your needle position — center it before sewing
-
Test with the handwheel — always turn by hand before using power
-
Know when to call a pro — if the dial is stuck or the machine is misaligned
-
Consider upgrading — if you‘re constantly fighting your machine, an industrial machine from DOIT Group will save you time, money, and frustration
Ready to stop breaking needles and start sewing with confidence? Explore DOIT Group’s full range of industrial sewing machines at doitsewingmachine.com.
📩 Email: sales6@chinadoit.cn
🌐 Website: doitsewingmachine.com
From "My Machine Can't Handle Pleather" to Cosplay Success: A Complete Guide
From Studio Stitcher to Studio Owner: Why Renting a Sewing Machine Is the First Step to Buying One